
There are very few gifts that can be a home decor item and house the gift itself.
You start with a new, clean and empty paint can. You can get these at Lowes or Home Depot for around $4.00. (Make sure you get the can opener, which are free and usually sit on the paint counter.)
We had 2 baby showers recently at our women's bible study, (withintheword.com), so I knew immediately that I wanted to make one for each baby. One is having a little boy (she has 2 precious girls) and the other is having a little girl ( she has a "special delivery" darling little boy and this is her first pregnancy!) We have all prayed for a long time , so this is a miracle baby!!!
All you need is scrapbook paper, contact paper, or even wrapping paper will do. I used double sided tape to adhere the paper to the can. Then just gather flowers and other embellishments and glue them on the can. (I use Fabric tac and find that it holds better than a glue gun.) I love when I have a theme. Isabella's room is going to be all the Disney princesses, so I found the perfect pink paper with castles and "princess words." I just printed her name with a "girly font" and put it behind a frame.

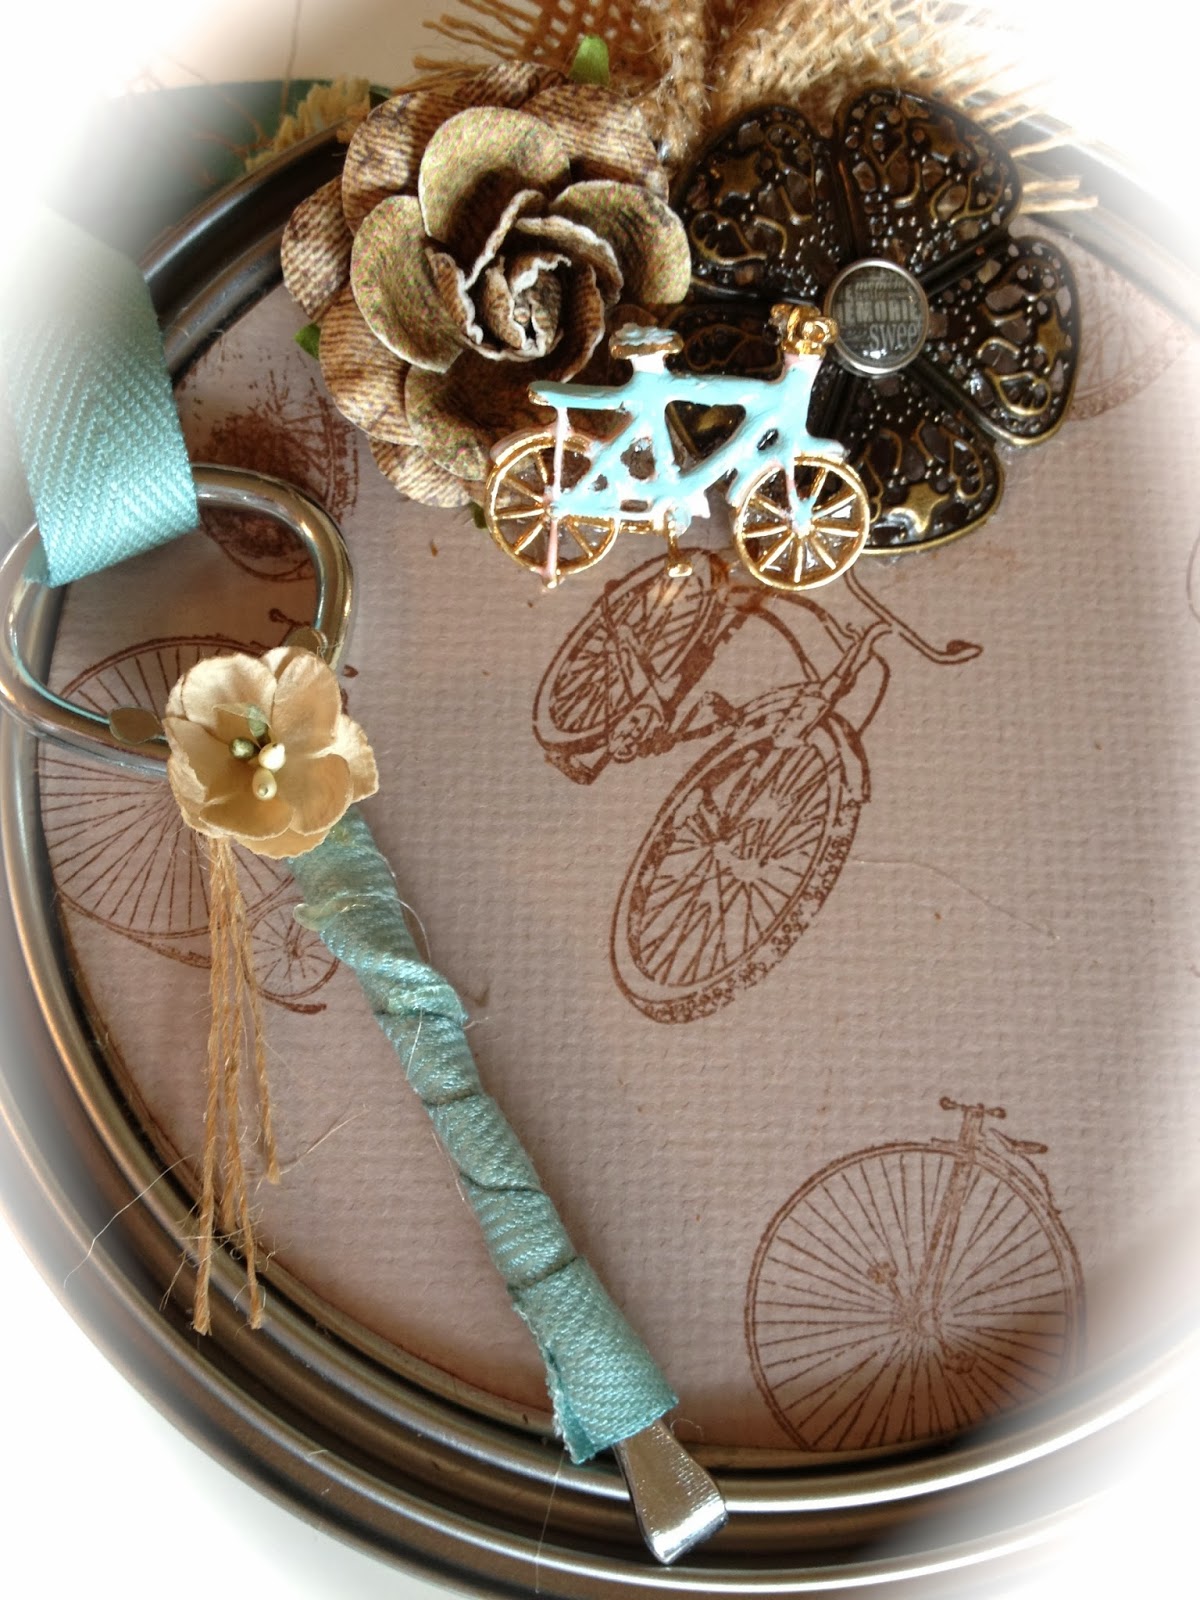
I also decorate the paint can openers and attach with a ribbon long enough that makes it possible to open the can.


I added paper to the top of the can along with a heart appliqué and flowers. Flat back pearls are perfect to add around the base.

The next baby theme was "vintage bike." One thing about boys, you can't add all the "stuff", so I have to back off a little to make sure it's masculine. This doesn't mean though, I can't add little trinkets.


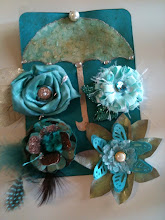
From the baby showers, I had a couple of custom orders for future baby showers. I've completed one of them. It was another fun baby girl can and I love the nursery colors.


When the can is complete, I place coordinating colored tissue paper and the gift. These would be great for all occasions, ages and holidays. I can't wait to make some Christmas themed cans.
My shoulder is "slowly" making progress. I'm still having to go to physical therapy twice a week and the surgeon is worried about a " frozen shoulder." I'm sure with crafting , retail therapy and physical therapy, I will be back to 100% in a few months. Nothing like sliding your credit card over and over to get a little shoulder action!!!
May each and every one of you have a wonderful Thanksgiving . I am truly blessed and have so much to be thankful for. I'm very thankful for all of you that follow my blog and leave your special comments.
Until the next blog,
Blessings and happy crafting.


No comments:
Post a Comment